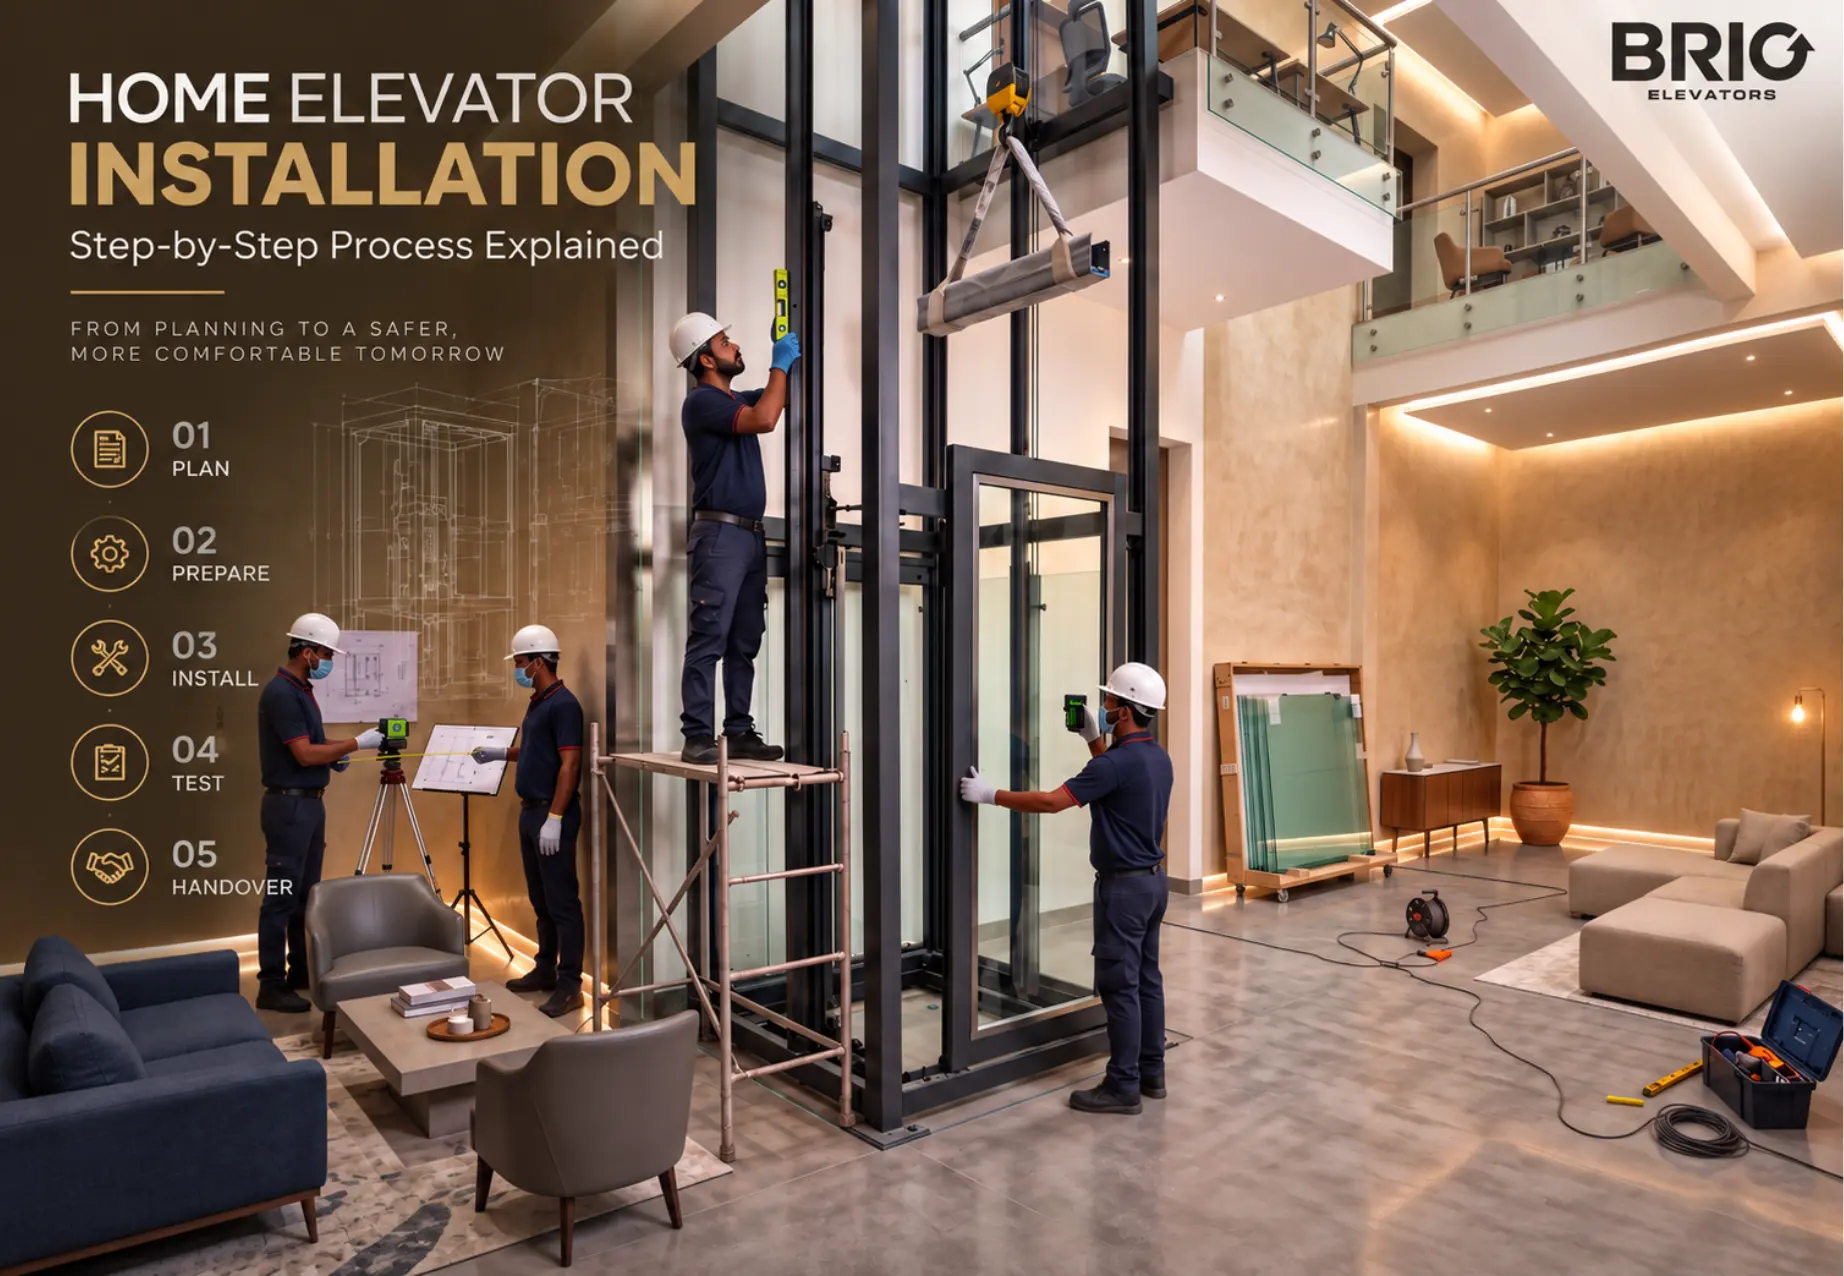
Home Elevator Installation may sound like a complicated process, but when it is planned properly, each stage is simple to understand.
A home elevator is different from a commercial lift. It is designed for villas, duplex homes, independent houses, and other residential buildings where comfort, safety, and space are important.
Before installation starts, the elevator company studies the home, checks the available space, understands how many floors the lift must serve, and recommends a suitable elevator system.
The complete process usually includes site inspection, planning, civil preparation, manufacturing, delivery, lift installation, testing, and final handover.
In this blog, we explain the entire process step by step in very simple language so homeowners know what to expect before installing an elevator in their home.
The first step is understanding why the family needs an elevator.
Different homes have different requirements.
For example, a family may need a lift for:
The elevator company should also understand how many people may normally use the lift and how many floors need to be connected.
This information helps in selecting the right elevator instead of choosing a model only based on appearance.
A proper site inspection is one of the most important stages of Home Elevator Installation.
A technical team visits the property and checks whether the available area is suitable for an elevator.
During the inspection, they may check:
The site inspection helps avoid problems later during installation.
It also helps the homeowner understand what type of elevator can fit comfortably inside the property.
After checking the property, the next step is deciding where the elevator should be installed.
The location depends on the design of the home and the available space.
A home elevator may be installed:
For a new house, it is easier to plan the lift during construction.
For an existing house, the elevator company studies the available areas and recommends a location that requires minimum changes to the property.
Good planning at this stage can make the entire lift installation process easier.
Not every elevator system is suitable for every home.
The correct system depends on available space, number of floors, family requirements, and the structure of the building.
Common residential elevator technologies may include:
Each system has different installation requirements.
A professional elevator company should explain why a particular technology is suitable for the home instead of simply recommending the same elevator for every project.
The next step is selecting the cabin size and capacity.
A smaller cabin may be suitable for two or three people, while some families may need more space.
The size should be selected by considering:
Choosing the correct size helps provide good comfort without taking unnecessary space from the house.
A home elevator can also become part of the interior design.
After the technical details are finalized, homeowners can select the appearance of the cabin.
Depending on the elevator model, customization may include:
The design can be simple, modern, premium, or luxurious depending on the style of the house.
It is better to finalize these choices before production begins so the elevator can be prepared according to the selected design.
Before the elevator arrives, the installation area may need to be prepared.
The amount of work depends on the type of elevator and the condition of the property.
Preparation may include:
Modern residential elevator systems can sometimes reduce the amount of civil work required compared with traditional lift systems.
However, the exact requirement should always be confirmed after a site inspection.
Once the design, dimensions, technology, and finishes are approved, the elevator enters the manufacturing or preparation stage.
During this stage, important parts of the elevator are prepared according to the project requirements.
These may include:
The manufacturing time depends on the type of elevator and level of customization.
A heavily customized lift may require more preparation time than a standard configuration.
After the elevator is ready, the components are delivered to the property.
Before delivery, the installation team should make sure there is enough access to move the equipment safely into the building.
The customer may need to keep the installation area clear.
The components should also be stored properly until installation begins.
Good planning during delivery helps avoid damage and unnecessary delays.
This is the stage where the actual lift installation begins.
The installation team starts assembling the elevator according to the approved layout and technical drawings.
Depending on the elevator system, the work can include:
The time required for this stage depends on the elevator model and property conditions.
Some modern home elevator systems may have simpler installation requirements, while others may require more structural and technical work.
Once the mechanical installation is complete, the electrical systems are connected.
This can include:
Modern elevators may also include smart features such as touchscreen controls, access control, voice integration, or monitoring systems depending on the selected model.
All electrical work should be completed carefully before testing begins.
Safety testing is one of the most important stages of Home Elevator Installation.
The installation team checks whether the main safety features are working correctly.
Depending on the elevator system, testing may include:
The elevator should not be handed over until the required checks are completed.
After the safety systems are checked, the elevator is tested for normal operation.
The team may run the lift several times between floors.
They check factors such as:
Any required adjustments can be made at this stage.
The goal is to make sure the elevator operates smoothly before the family begins using it.
Once testing is completed, the installation area is cleaned and the finishing work is checked.
The team may inspect:
This final stage is especially important for premium home elevators because the lift should look like a finished part of the home.
After installation and testing are complete, the elevator is handed over to the homeowner.
The customer should be shown how to:
Important documents such as warranty information, operating instructions, and service details should also be explained.
A proper handover helps the family use the elevator confidently from the first day.
There is no single installation time for every home.
The total time can depend on:
Some projects may be completed faster when the site is already prepared, while other homes may require additional civil or structural work.
The elevator company should explain the expected timeline before the project begins.
The installation process can be different depending on whether the elevator is planned for a new house or an existing house.
When the elevator is planned during construction, the architect and elevator company can coordinate the space from the beginning.
This can make it easier to plan:
Installing a lift in an existing home may require more careful planning.
The technical team needs to identify a suitable space and understand what changes are possible without affecting the property unnecessarily.
A site inspection is especially important for an existing building.
A few simple mistakes can make an elevator project more difficult.
Homeowners should avoid:
Good planning before installation can prevent many of these problems.
A home elevator is a long-term part of the property.
Even a high-quality elevator needs proper installation to work correctly.
Professional installation helps ensure that:
This is why homeowners should consider both the quality of the elevator and the experience of the installation team.
At Brio Elevators, every residential project begins by understanding the home and the family's requirements.
The team evaluates the available space, number of floors, expected usage, design preferences, and technical requirements before recommending a suitable elevator.
Brio focuses on:
Whether the elevator is planned for a villa, duplex, independent home, or multi-floor residence, the aim is to create a solution that works naturally with the property.
Home Elevator Installation becomes much easier when the project is properly planned from the beginning.
From site inspection and lift selection to installation, safety testing, and final handover, every stage plays an important role.
Choosing the right elevator, the right installation team, and reliable long-term service can help homeowners enjoy safe and comfortable movement between floors for years.
📞 Call: +91 9398113939 🌐 Visit: brioelevators.com
The first step is a site inspection to understand the available space, number of floors, structural conditions, and family requirements.
The installation time depends on the elevator type, number of floors, site condition, civil work, and level of customization.
Lift installation cost depends on the elevator technology, floors, cabin size, civil work, safety features, and installation conditions.
Yes, many existing homes can accommodate an elevator after a proper technical and structural site assessment.
The price depends on the elevator type, number of stops, cabin size, design, safety systems, structural work, and additional features.